Workshops
Polishing a Case
Scratches are hard to avoid. Here's how to make a watch case look like new again.
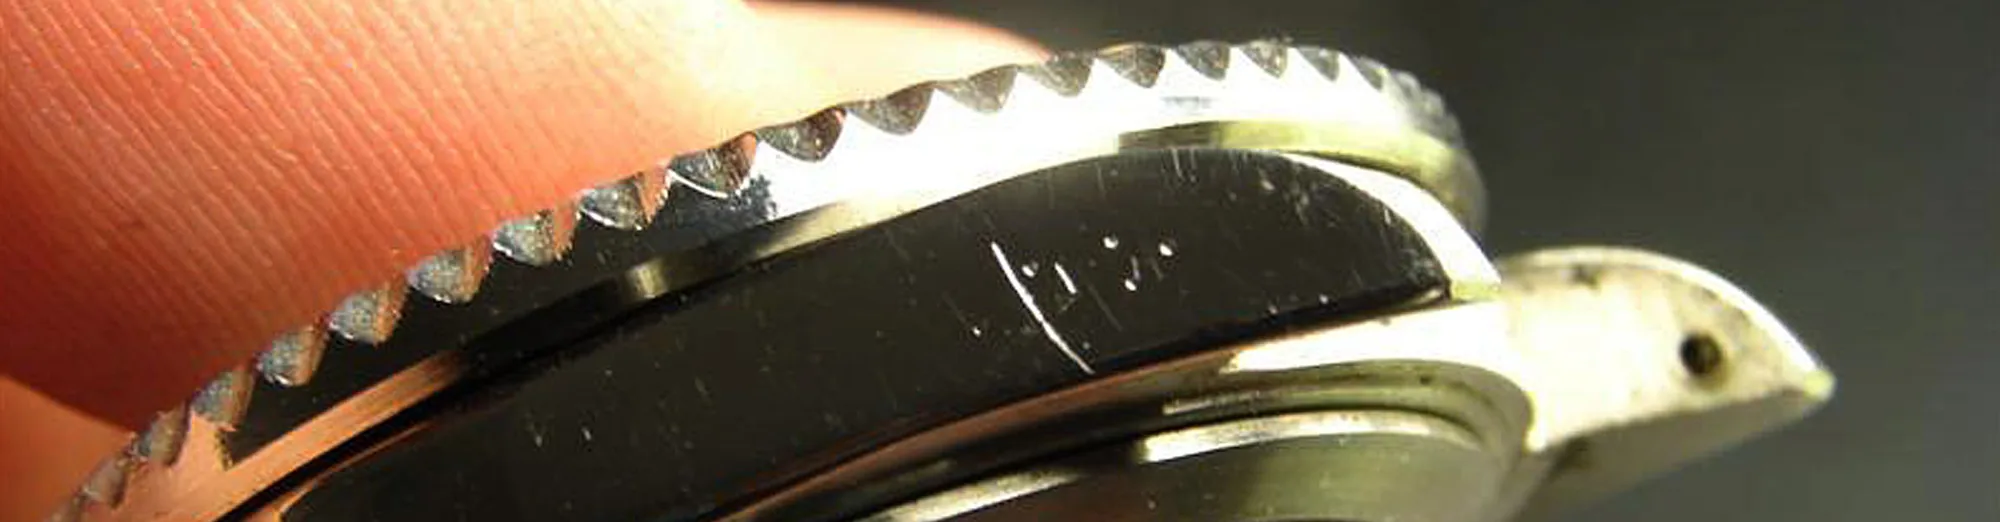
No matter how careful you are, wear marks on a watch case are hard to avoid in practice. Snag it on something once, and it happens: the first scratch on your new Rolex. Don't reach for the polish right away over a small scratch, because polishing always takes off material. Scratches are part of a watch and give it its authentic look. If the scratches are too deep or too many, though, polishing is definitely worth it to bring the watch back to like-new condition. Below is a guide to how that works. This restoration is a bit more involved than the other workshops, so take your time. The calmer you go, the better the results. If you have doubts, your Rolex dealer or Rolex itself can do this kind of refinishing perfectly.
The demo here uses a Rolex-like case, because nobody was willing to give up their expensive watch for extra deep scratches just for demonstration. But once you see how easy it is, you can tackle the original scratched case with confidence.
Tools
Here's what you need to refinish a case:
- Sandpaper (120 to 1600 grit)
- Proxxon "Dremel" or something similar
- Various buffing wheels
- Blue polishing compound
Not needed: the flat file and fiber pads for the matte finish.

Starting point
The case, again with nasty scratches and dings added on purpose.

Tape off the matte surfaces
So that the matte rest of the case doesn't get polished along with the polished part, carefully tape it off. Always do this when matte and polished parts sit right next to each other (like on the bracelet of the Rolex Daytona, for example).

Sanding
Now it starts. Pick the sandpaper based on how bad the dings are. Here's the result with 320-grit paper.

Then 400-grit paper ...

... and 800 grit ...

... and finally 1200 grit. Already looks great:
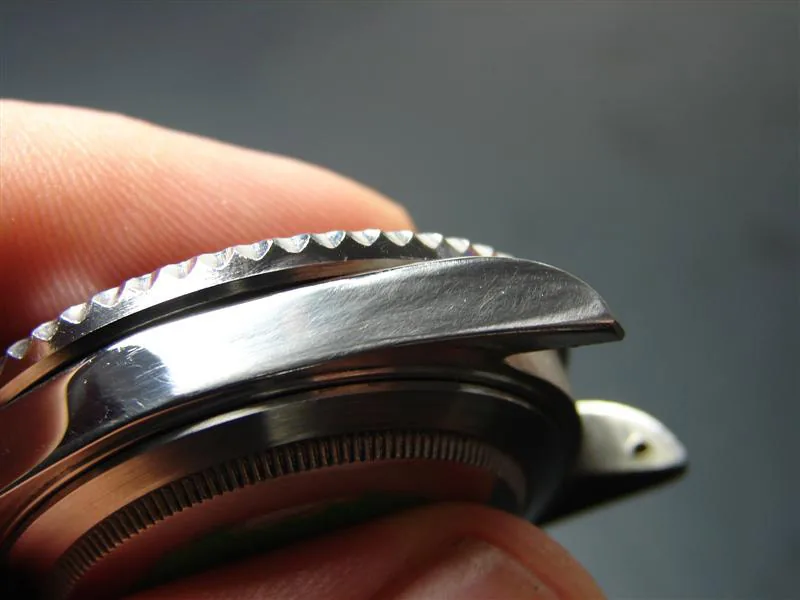
Polishing
Now you can start polishing. First hold the buffing wheel in the Proxxon against the blue compound to load it with polishing paste.

Then gently touch it to the surface of the flank. Make sure the taped-off matte areas stay covered! And after just a short time it looks like this ...

Result
... or like this. The result speaks for itself. You can't see anything anymore, and because we went carefully, hardly any material came off.

I put this workshop together with Jörg, a friend from the R-L-X forum, and I'd like to thank him again for his help.