Workshops
Polishing a Bracelet
A used steel bracelet can be brought back to life without spending much.

Wearing a watch means the bracelet will get scratched. Some people mind, some don't. But you can restore a worn steel bracelet without spending much: you remove the scratches and recreate the typical Rolex finish. If the bracelet isn't stretched, it can end up looking almost new. Even a stretched bracelet can at least be spruced up visually.
This restoration is a bit more involved than the other workshops, so take your time. The calmer you go, the better the results. Practice first, too, and don't start on your expensive watch. Practice makes perfect. And once more, explicitly: do this at your own risk.
The demo bracelet here is an aftermarket one, because of course nobody was willing to hand over their expensive watch for extra deep scratches just for demonstration. But once you see how easy it is, you can tackle the original scratched bracelet with confidence.
Prepping the bracelet for the demo (don't try this at home)
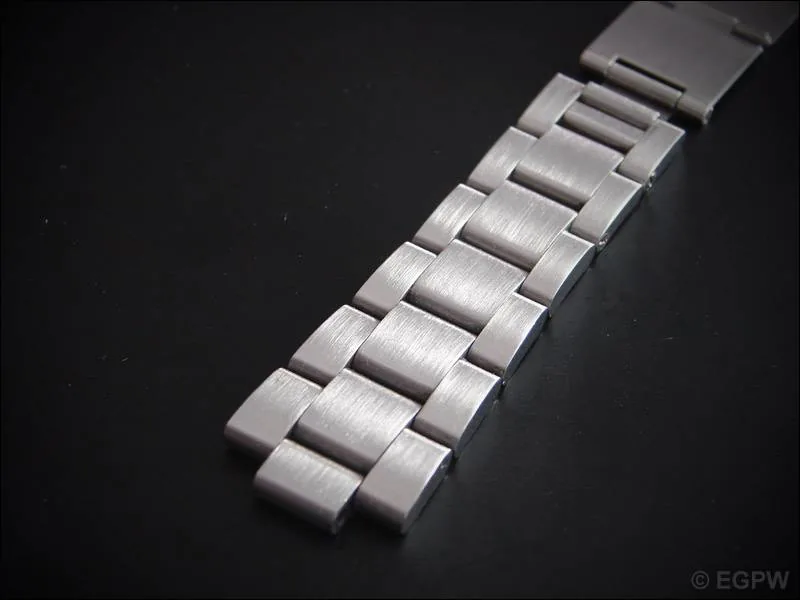
The bracelet, still without scratches:

To get a better before-and-after comparison, the bracelet gets a few nasty scratches on purpose. On a real watch these scratches would be really annoying, and they're rarely this deep. So these are extreme conditions for this workshop.

Tools
What tools do you need to refinish a bracelet?
- Sandpaper (120 to 1600 grit)
- Flat file to wrap the sandpaper around later
- Fiber pads for the matte finish (3 pieces, offset and roughened onto a Proxxon universal holder, shown above the file in the picture)
- Proxxon "Dremel" or something similar

Sanding out the scratches
To get rid of scratches like these, first wrap 160-grit sandpaper around the file and work the bracelet. On slightly uneven surfaces you can also lay the paper over your finger and work carefully. Important: always make sure to sand in a straight line!

The result after the first step isn't what's possible yet. But the idea is to go slowly. It's better to be a bit careful at first than to take off too much at once. Material that's gone is gone for good. Always keep that in mind.

Sanding finer
Now a few more steps, first with 320 and then with 400 grit paper. After that it already looks a lot better.
Matting with the Dremel
Now comes the matte finish with the Dremel/Proxxon and the fiber pads. Go over it very lightly:

After a short time it looks like this. Not bad, but still a bit too coarse compared to the original bracelet:

Second round (if needed)
So step back a bit and repeat the last two steps with finer 600-grit sandpaper, then go over it with the Dremel again. Now it really looks perfect:

Final result
And it holds up in a direct comparison too. The original bracelet with the factory finish is on top, and the refinished one is below:

I put this workshop together with Jörg, a friend from the R-L-X forum, and I'd like to thank him again for his help.